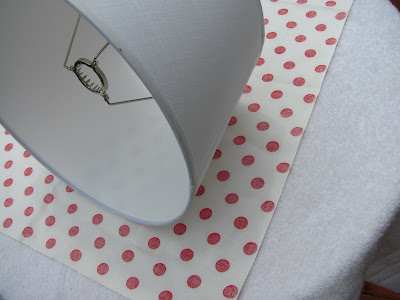
Anyway, let's get started! This project is super easy and you need minimal supplies to get it done.
First step is to remove the tape off the top and bottom of your lamp shade. This eliminates the bulk when you add the new fabric.
(tape removed)
You will need spray adhesive, scissors, and your fabric for the next step.
Next step is to lay your fabric out flat and trim it to a managable size to wrap around your shade.
Spray the glue in small portions to wrap your fabric around the shade. Make sure to do this outside as the fumes will really get to you if you try and do this indoors! Pull tight and smooth with your hands each time you add more glue and wrap.
Once you have wrapped the fabric around the entire shade, cut enough off at the end to overlap and fold over your seam. Use a glue gun to finish the back off nicely. You will then trim the excess fabric off the top and bottom leaving enough to fold over and have a finished look on the inside of the shade.
Last step is to use your trusty glue gun to fold over the top and bottom loose edges to create a clean, finished look. Super easy, right?!
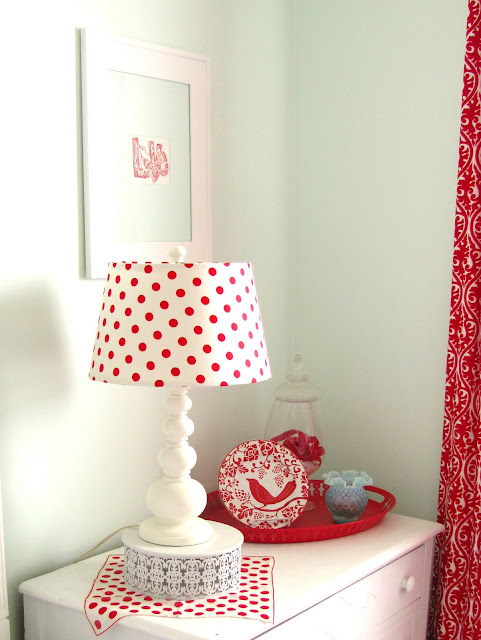
There you have it!! Finally, the finished lamp shade! If you remember, I asked for opinions on the fabric choice, and in the end I stuck with the polka dot. I'm happy with the outcome.


.png)


You made this look so easy!
ReplyDeleteI'm so glad that I popped over for this because I would not have thought to removed the tape from the top and bottom.
gertie @ The Old Block House
Rachel this is so cute! I love polka dots. It's kinda awesome that your glue gun is also pink polka dots :)
ReplyDelete