Whew! We are finally done with the 2 part bathroom renovations! I feel a little like I have been run over by a truck, but I'm very pleased with the results! So here's a little background on the project: $1,500 budget for 2 bathrooms, 2 weekends total(1 bathroom per weekend) to complete the project, 3 dedicated and hard workers to get the job done!
I now present to you the "guest" bath(which is technically my brother's bathroom) before photos:
Before
As you can see, the walls were yellow, the cabinetry was ugly old oak, and the floor a builder-grade sheet of linoleum. Not very spa-like, huh?
And did I forget to mention the plastic cove moulding?? You know, the stuff you see in office buildings? Yuck! That had to go.
Now here is a list of what we did:
-tile floor
-paint
-light fixture
-vanity
-shoe mouldings
-medicine cabinet
-mirror
-goose neck faucet
-towel bar and tp roll
Total cost for this bathroom around $900 with lots of sweat equity!
Keep in mind these bathrooms were done for resale purposes. We wanted it to be buyer friendly and not too personal. I would have preferred a different mirror so as not to be so matchy-matchy, but I was out-voted on this one!
Believe it or not, the goose neck faucet came from Wal-mart! I found them back when we were doing a little work to our bathrooms and I was looking for an affordable goose neck which is very difficult to find. This one comes in right at $40! Can't beat that! Most of the major items came from Lowe's. Aslo, this photo is pre-bifold doors. We had not hung those yet so you can see the laundry area in the reflection.
Overall, it was lots of fun and I think we added lots of value to this once unappealing bathroom! Hopefully the buyers will agree!
I will be back tomorrow with before and afters of the master bath.
Sunday, January 30, 2011
Thursday, January 27, 2011
Giveaway Alert!
The sweet and adorable Emily (E-day) is hosting a giveaway for an item from my etsy shop! Hop on over to her blog to enter for your chance to win this:
Good luck!!
Monday, January 24, 2011
The Whirlwind Weekend
This is what I want to be doing for the next couple of days after the weekend I had! As I mentioned before, I was hired by my brother and sister-in-law to help renovate their 2 bathrooms. This past weekend was round 1!
We worked non-stop all weekend long. Friday consisted of ripping the entire bathroom out. The washer and dryer is tucked away behind bi-fold doors, so those came out first, then came the old vanity, the toilet, and lastly the dated vinyl flooring. Did I mention we didn't start until about 6pm because everyone had to work Friday?! Once the room was completely empty we decided to paint to avoid any splatter or messes on the new floors and fixtures. After all that we called it a night!
First thing Saturday morning we were back at it again! It was time to tile! Before we could do that though, we had to install durock, which is sort of like a sub-floor that goes under the tile to prevent any mold or mildew if ever any water seepage occurs. Once that was done, it was officially onto the tile. Now let me tell you, if you've never laid tile before, it is a serious job! Backbreaking, leg-burning, knee-bruising work! Since I have previous experience in this area, I did all the tile laying while my brother and sister-in-law cut any tiles that needed cutting. To save time, they also assembled things that needed assembling such as the vanity, the fosset, the medicine cabinet, etc. Once you get into a groove laying the tiles, it goes fairly quickly.
Looking back, it's all kind of a blur from there! Sunday was a glorious day. Knowing that it had to be over soon and the hardest part was behind us felt really good! We grouted sooner than we really should have, but things seemed sturdy enough to do so. You are generally supposed to wait 24 hours before grouting but we were on a time crunch! This bathroom needed to be done this weekend. So first thing Sunday morning we grouted. We then left the floor alone for a couple of hours while we went to the home improvement store to pick up shoe moulding and quarter round. Still waiting for the grout to dry, we painted and cut all mouldings and once we felt comfortable enough to tip toe around we installed the mouldings! I got to use my new air compressor with nail gun my husband got me for Christmas! Yippee! It was pretty powerful, I must say! So now we are in the home stretch! Everything got loaded back into the bathroom, plumbing reattached and we were done! It looks 100 times better than it did, but unfortunately I don't have "after" photos just yet!
Have no fear....I will take them when I am back over there next weekend for part 2 of our bathroom renos...the master! This bathroom is teeny tiny so I have high hopes that it will be smooth and quick!
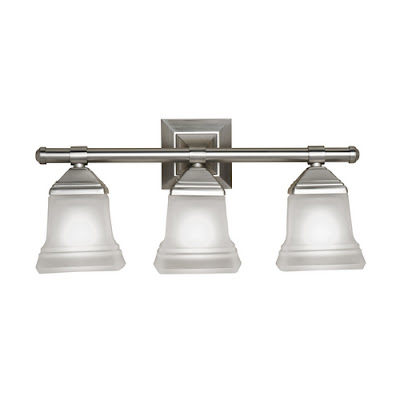
Here's a little sneak peak of what I picked to go in there:
Pretty, right? Like I said, the master bath is tiny so vanities are slim pickins'! But I really like the looks of this one.
Hope you had a wonderful, relaxing weekend!
Wednesday, January 19, 2011
Wallpaper Love
If you have been following along with me on this little blog, I have mentioned wallpaper on more than one occasion! I have to admit that I really love it. There are so many amazing styles out there that are nothing like the wallpaper we might have grown up with ;)
Let me share a few of my favorites!
This one does have a retro feel to it, but the way this room is styled is so chic!
I came so close to using this one pictured above in my guest bathroom. There is a gorgeous raspberry colorway. In the end, I used the wallpaper shown below in the green colorway which I also L.O.V.E! It's so bright and cheery.
(All photos above courtesy of Thibaut.)
Here is the green colorway in my bathroom. Sorry for the dark picture! I'll have to take more photos of the entire bathroom so you can see the painstaking tile job my husband and I did last year. We used sheets of the vintage style white hexagon tile, and created a border with lime green glass 1" tiles. It turned out great, but was not an easy job!
Hope you are enjoying your week! Halfway through it now :)
Tuesday, January 18, 2011
Bathroom Reno
I am gearing up for a major shopping day tomorrow! My step brother and his wife have hired me to help renovate both bathrooms in their house; the master and the guest bath. They are hoping to put their starter home on the market shortly, so fixing up the bathrooms is on the list of things to do.
They needed a little help and direction as to where to start and weren't sure what fixtures to choose, colors, tile, accessories, etc. Plus, as smart as they both are, hands on work is just not their forte! So they put me in charge of the design and budget.
For this project, we are on a limited budget of $1500 for 2 bathrooms. We will do the work in 2 weekends hopefully. Guest bathroom this weekend, and master bath next weekend.
Here's a sneak peak of a few things I will be picking up tomorrow:
Benjamin Moore: Glacier Blue 1653
(A gorgeous shade of grayish-blue)
So that's all I am going to show you for now! We want to keep it fairly neutral, as they are trying to sell the house, not live in it forever. Of course, it has to have some style though ;) The rest of my shopping list for tomorrow consists of:
-mirror
-medicine cabinet
-door knobs
-tile
-t.p. holder
-towel ring
-goose neck faucet
-grout
-tile adhesive
-cement board
etc!
I will have before and after shots to share once we finish this bathroom, and then we will be on to the next!
Saturday, January 15, 2011
New Arrivals!
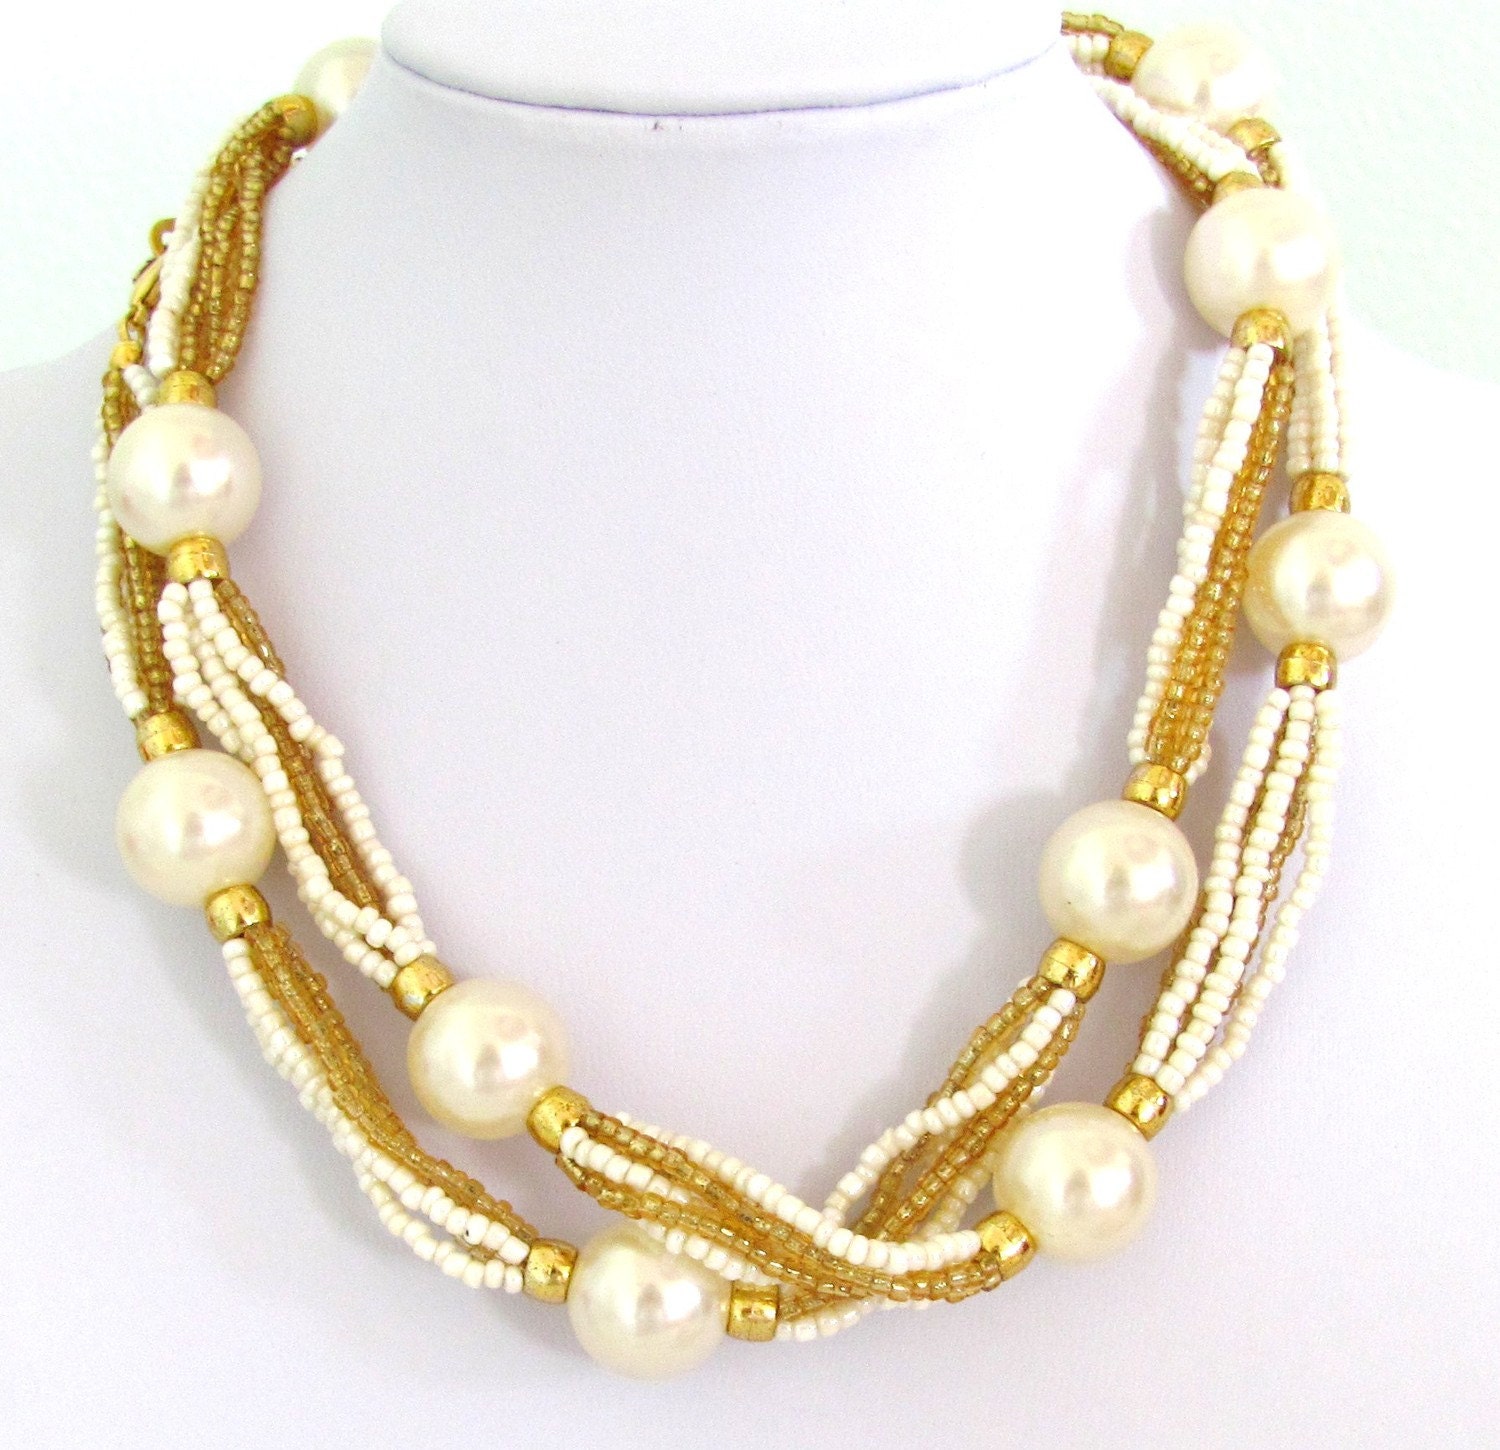
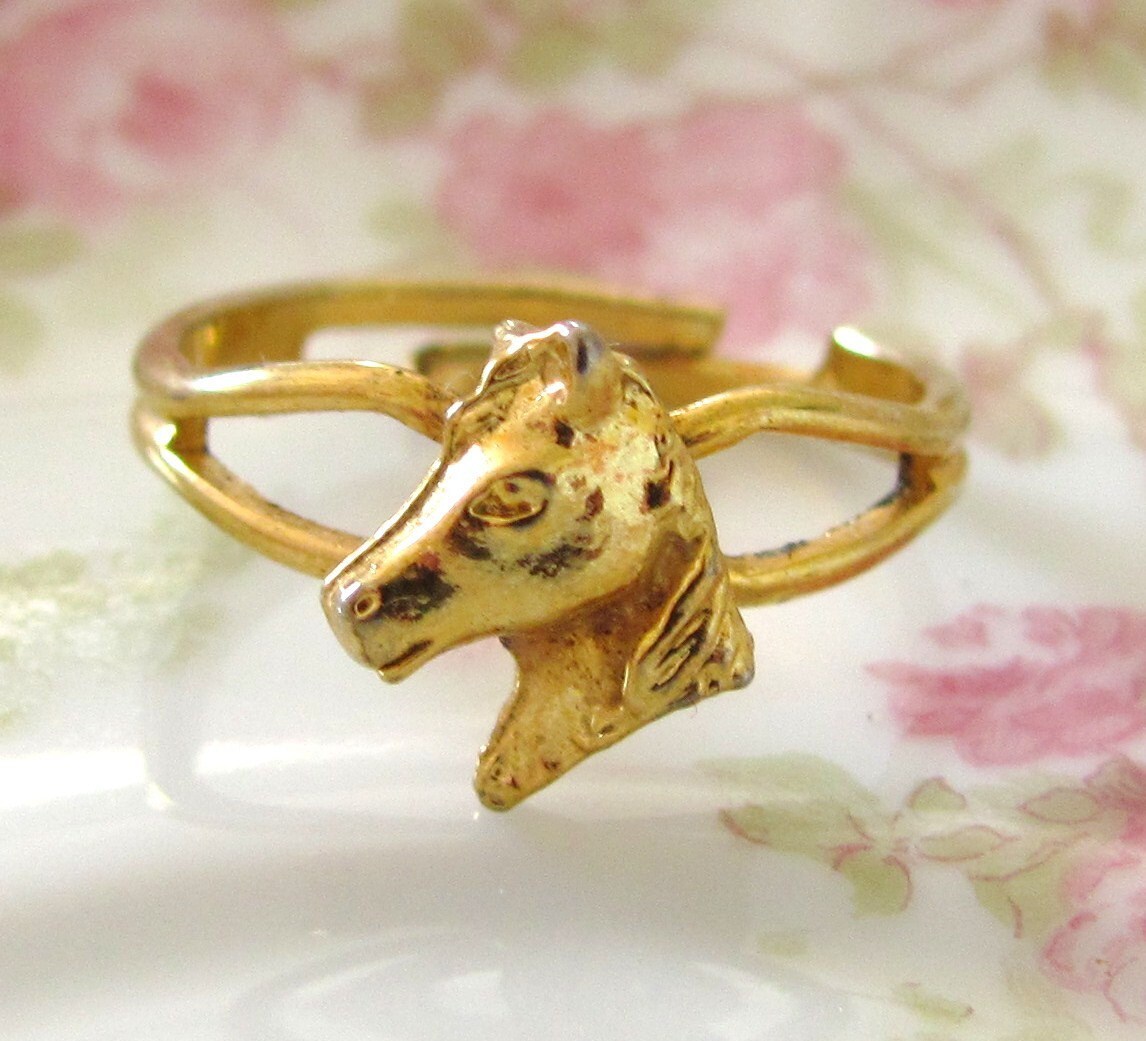
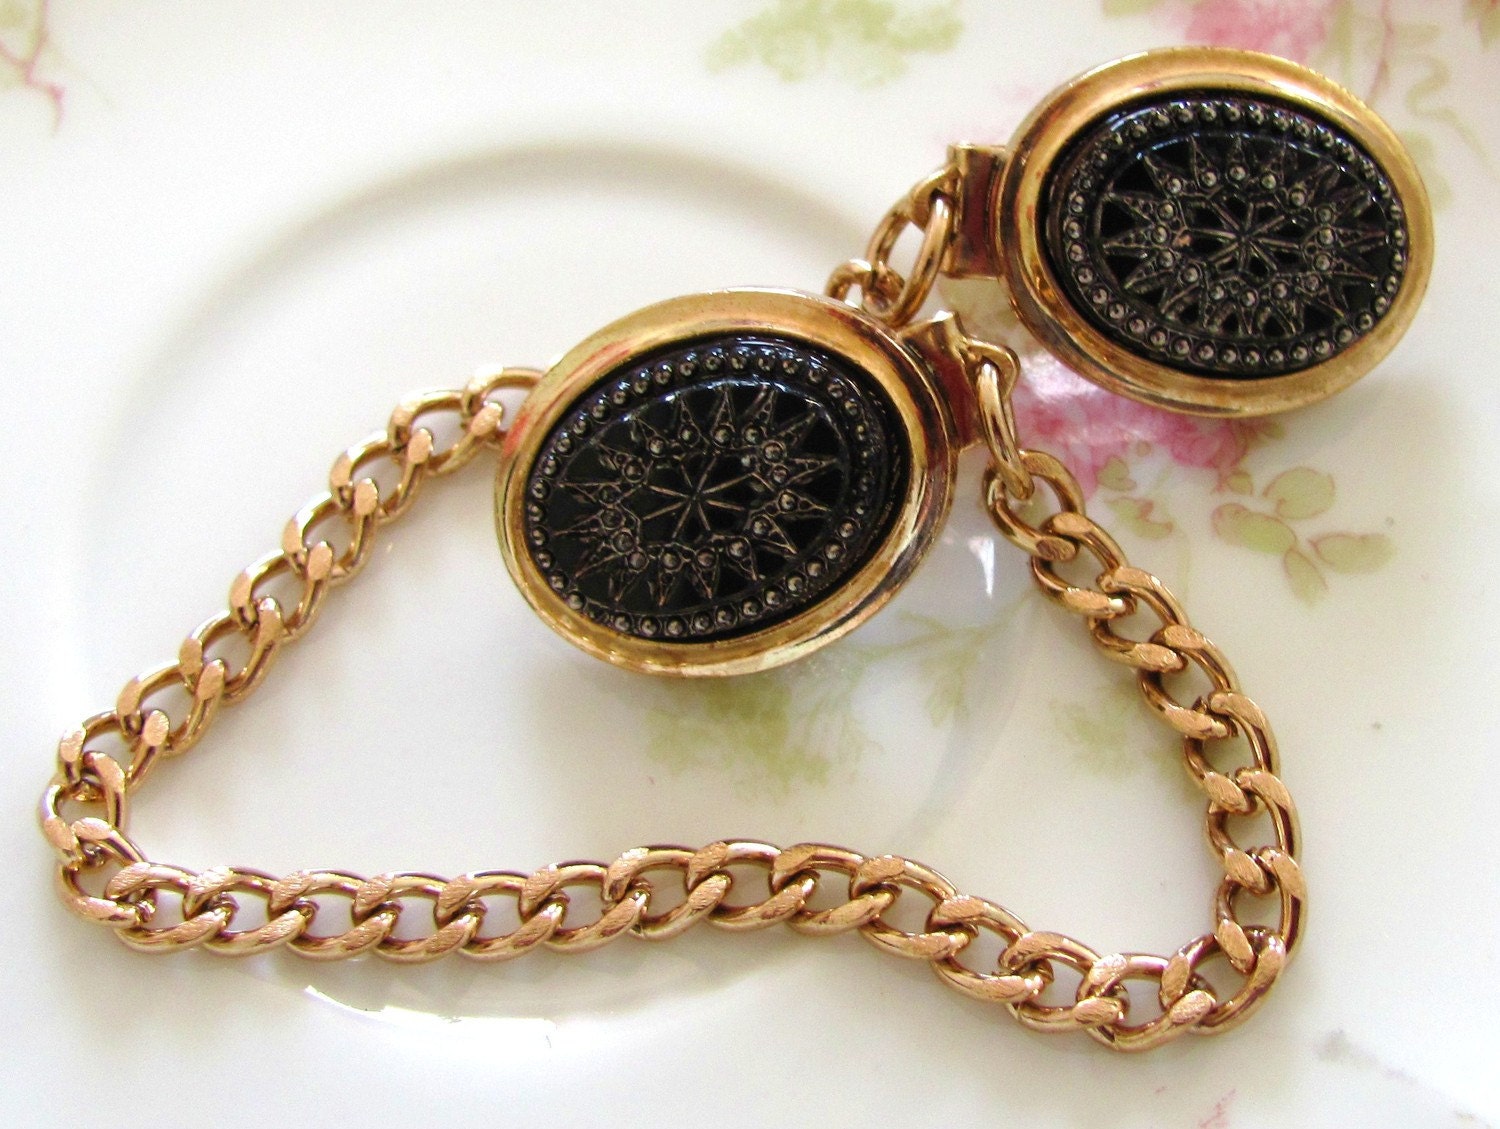
Hope you are enjoying your weekend! I have been busy treasure hunting and have added some new items at Silver Lining Decor and I thought I would share them with you! I get so excited when I go hunting and find some amazing pieces! Most of the time I make new jewelry from the found items, but every now and then I find a piece that is just so charming on it's own and needs no work from me!
How adorable is this?! I just love a cute horse accessorie! It brings me back to my childhood ;)
The perfect winter accessorie! If you don't know about them already, sweater guards were popular in the 40's and 50's and making a strong comeback! It's a great way to keep your cardigan from falling off your shoulders without having to button it up, and add a little style while you're at it!
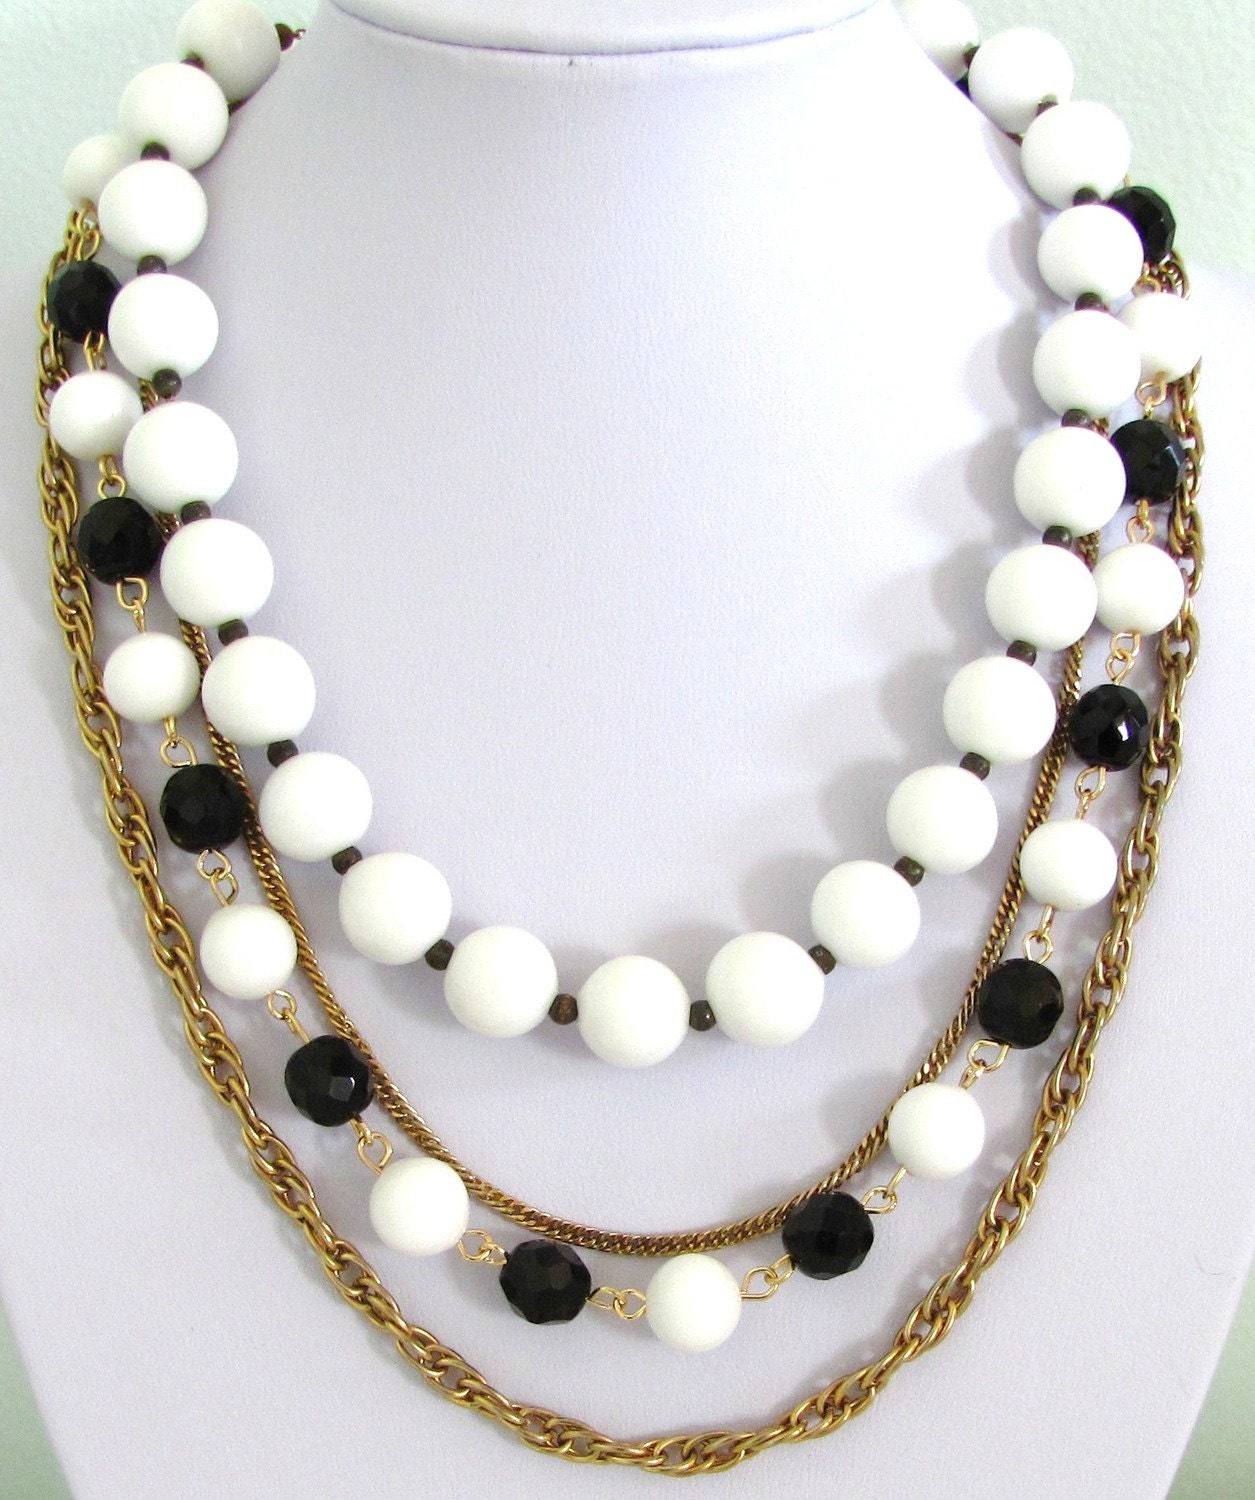
I made this necklace using broken vintage strands of glass beads and chains. I love it! The black and white is so striking. It kind of reminds me of something nautical. The perfect statement piece!
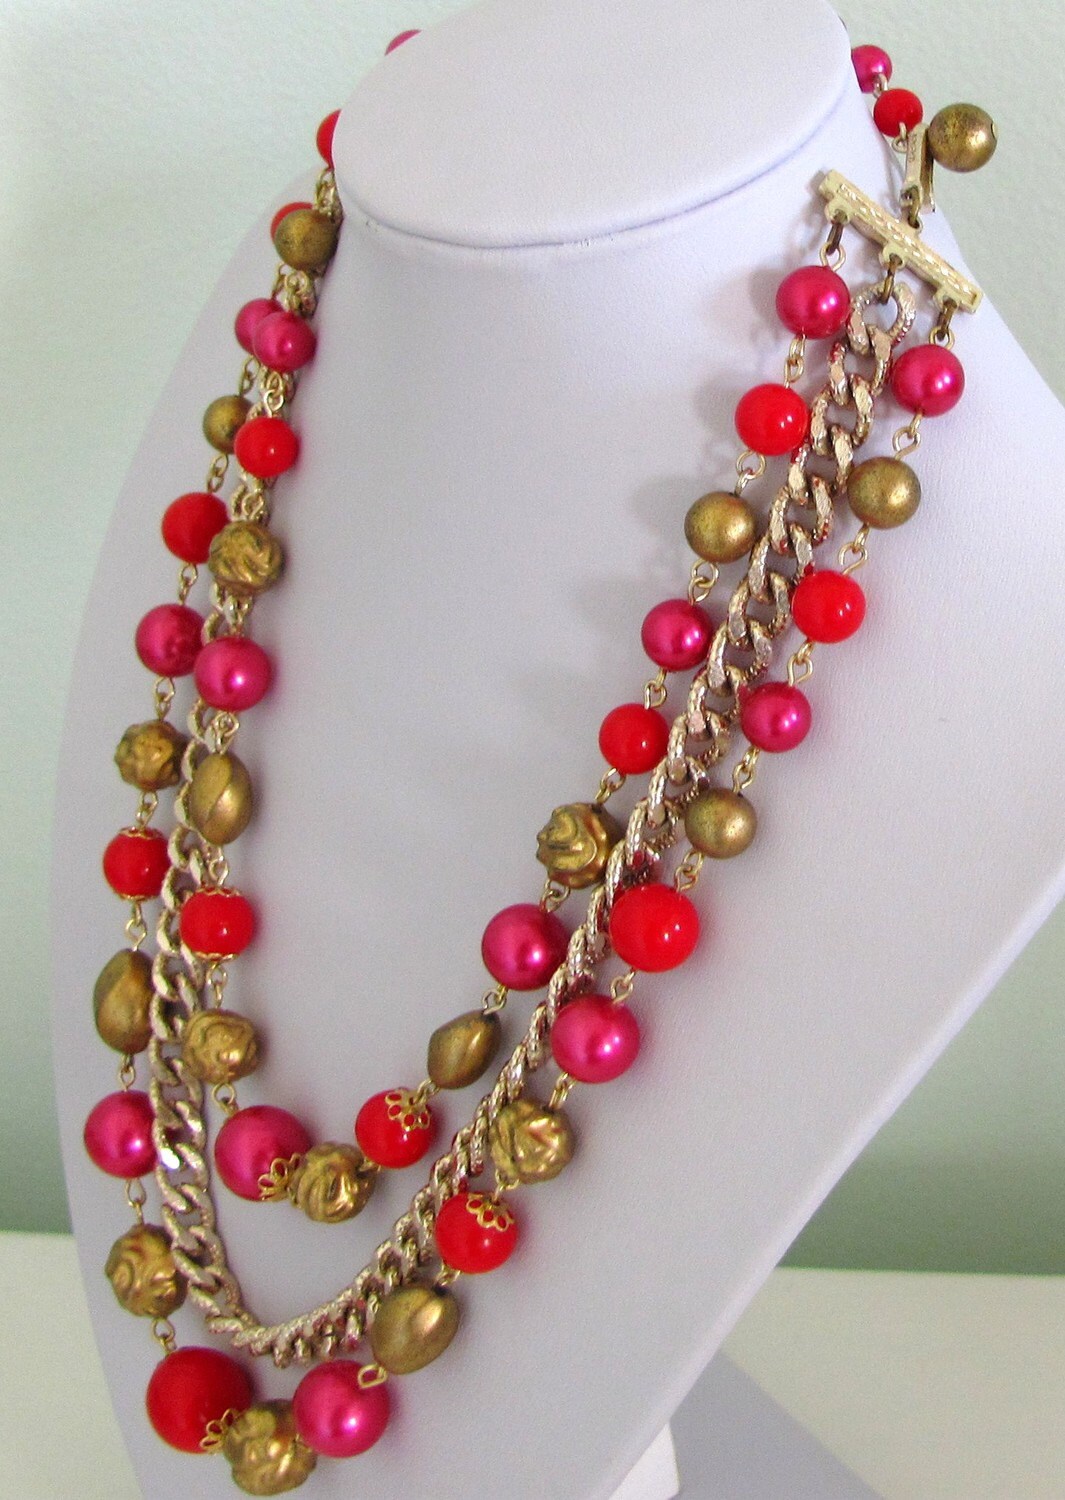
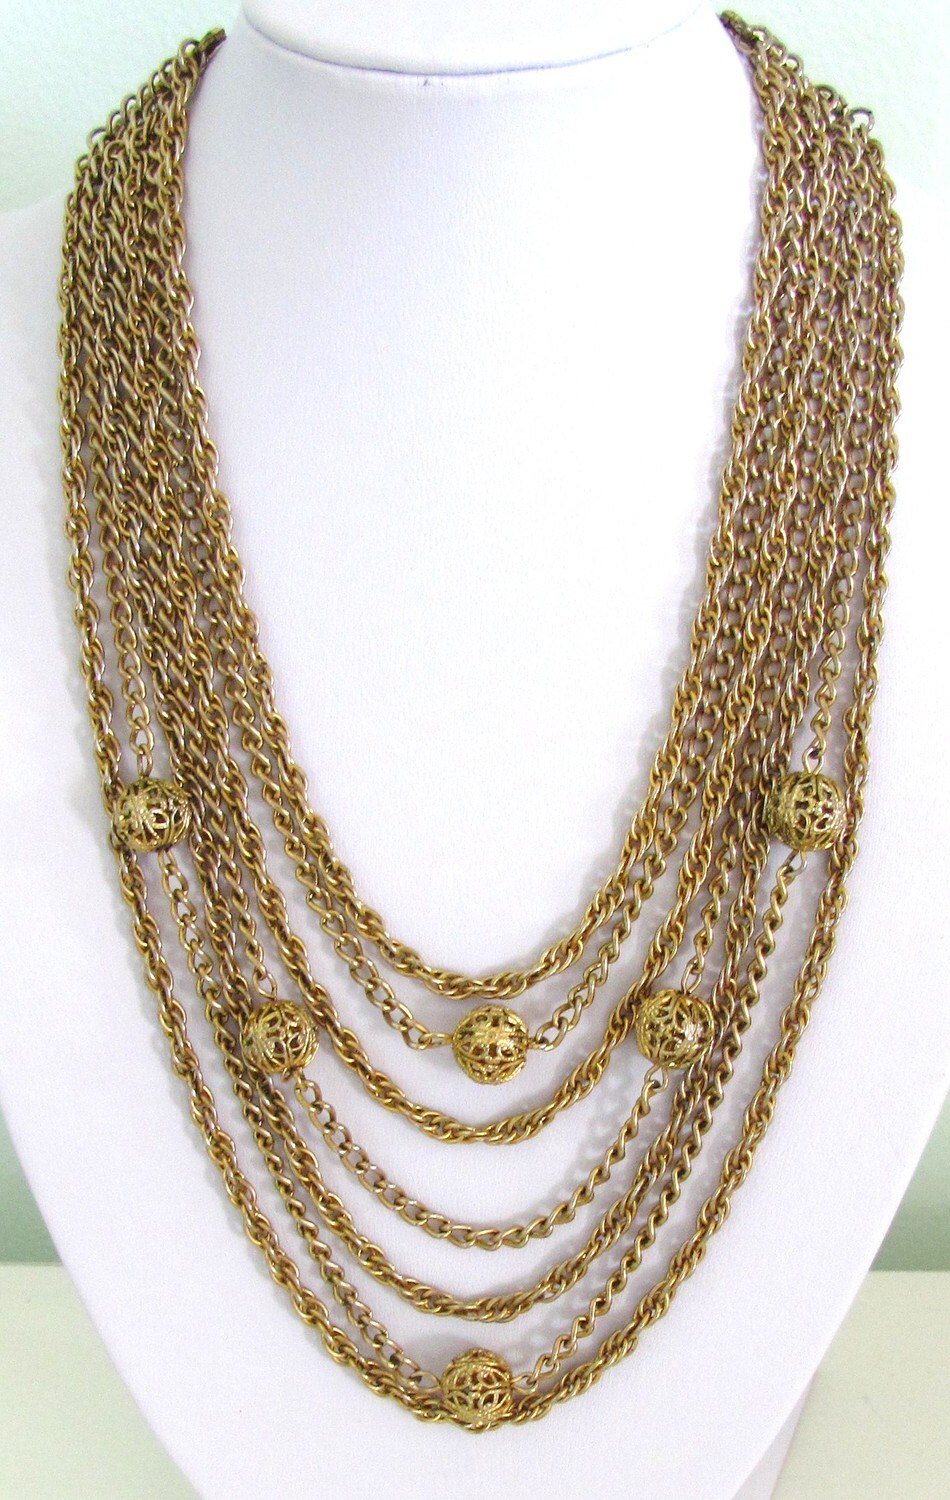
And these two were just perfect as they were!
This pink and red one reminds me a bit of Valentine's Day!
So there they are! The latest from Silver Lining Decor! Do you have a favorite "go to" piece of jewelry? Or a favorite statement piece? I think my personal favorite is this pair of earrings! I wear them almost daily.
Happy Saturday!
Friday, January 14, 2011
Easy Wall Art
If you haven't figured out by now, I am an etsy lovin' fool! I have my own shop, but I also love to support other artists. I love finding one of a kind items that you just know not every girl is wearing, or every house is decorated with! Today I am going to share with you one of my favorite(well, one of many favorites) etsy finds.
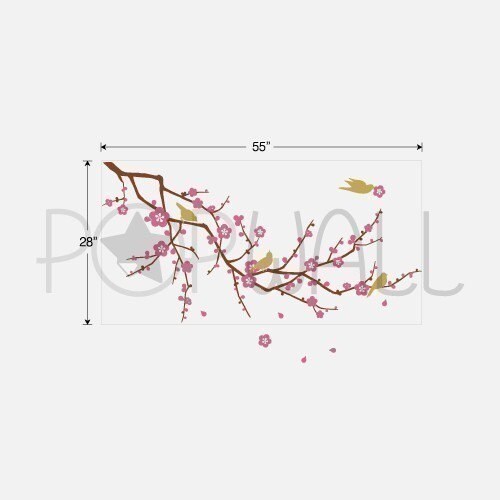
Vinyl wall decals are not what you might think! They are so amazing these days and really look like a painted wall mural. I found this one on etsy and fell in love. The best part is that you can customize the colors to match your decor! My husband and I live in a cape cod which means wonky ceilings on our 2nd floor. The wall above our bed is a bit odd, so I wanted something unique to hang above it. I'll admit I left this wall blank for over 2 years because I wanted the perfect thing to put there. When I found the decal, I knew it would be the right thing to go over our bed!
Original wall decal:
I changed the colors to fit in with our color scheme. I was a little nervous when the decal came in because the pinks were a little bright! But once I put it up, I was pleased with the way it turned out. I think it's the perfect statement.
Yes, I know what you are thinking...I did say I was married! Fortunately I have a very supportive husband who could care less how many flowers, or bright colors I put in our house as long as it makes me happy! He's very secure with himself ;)
Happy Friday! I hope you have a wonderful weekend!
Thursday, January 13, 2011
Wallpaper Backsplash d.i.y. part 2
I previously posted our little wallpaper backsplash DIY project here. All that was left to do was paint. But before I show you the final shots, I will show a little more of my kitchen. I mentioned that one of the reasons I wanted to do this backsplash was because it was subtle. We have a lot going on in there already! I love my kitchen; it's cozy and colorful. It's definitely not for everyone, but for me the color and craziness is just right!
Exibit A: The window treatment fabric is one of the very first elements I added to the kitchen when we moved in over 2 years ago. It was love at first sight and I knew it had to be mine!
Exibit B: Gigantic canvas art, oodles of colorful pillows on the bench, a vintage pink crocheted runner, and a small collection of vintage candlestick holders.
The chairs need to go! I am constantly on the search for an affordable pair of these:
And finally, the finished product! I couldn't seem the get the lighting right to get a good shot because I had too much light coming in with the roman shades open, then not enough if I closed them. Hopefully you will be able to see the subtle backsplash!
See the cute little soap bottle on my sink? Go here to find one for yourself! My mom paints them :)
So there it is! My budget friendly kitchen backsplash!
Inspiration
I find inspiration from many places. Most commonly, I get inspiration for my jewelry designs from my interiors, and visa versa! It seems that I am drawn to the same sort of look and colors in both areas. I love to mix vintage and modern, old and new, rustic and shiny, etc.
I think you might see a similarity in my latest necklace and the spare bedroom I posted my kitties lounging in yesterday!
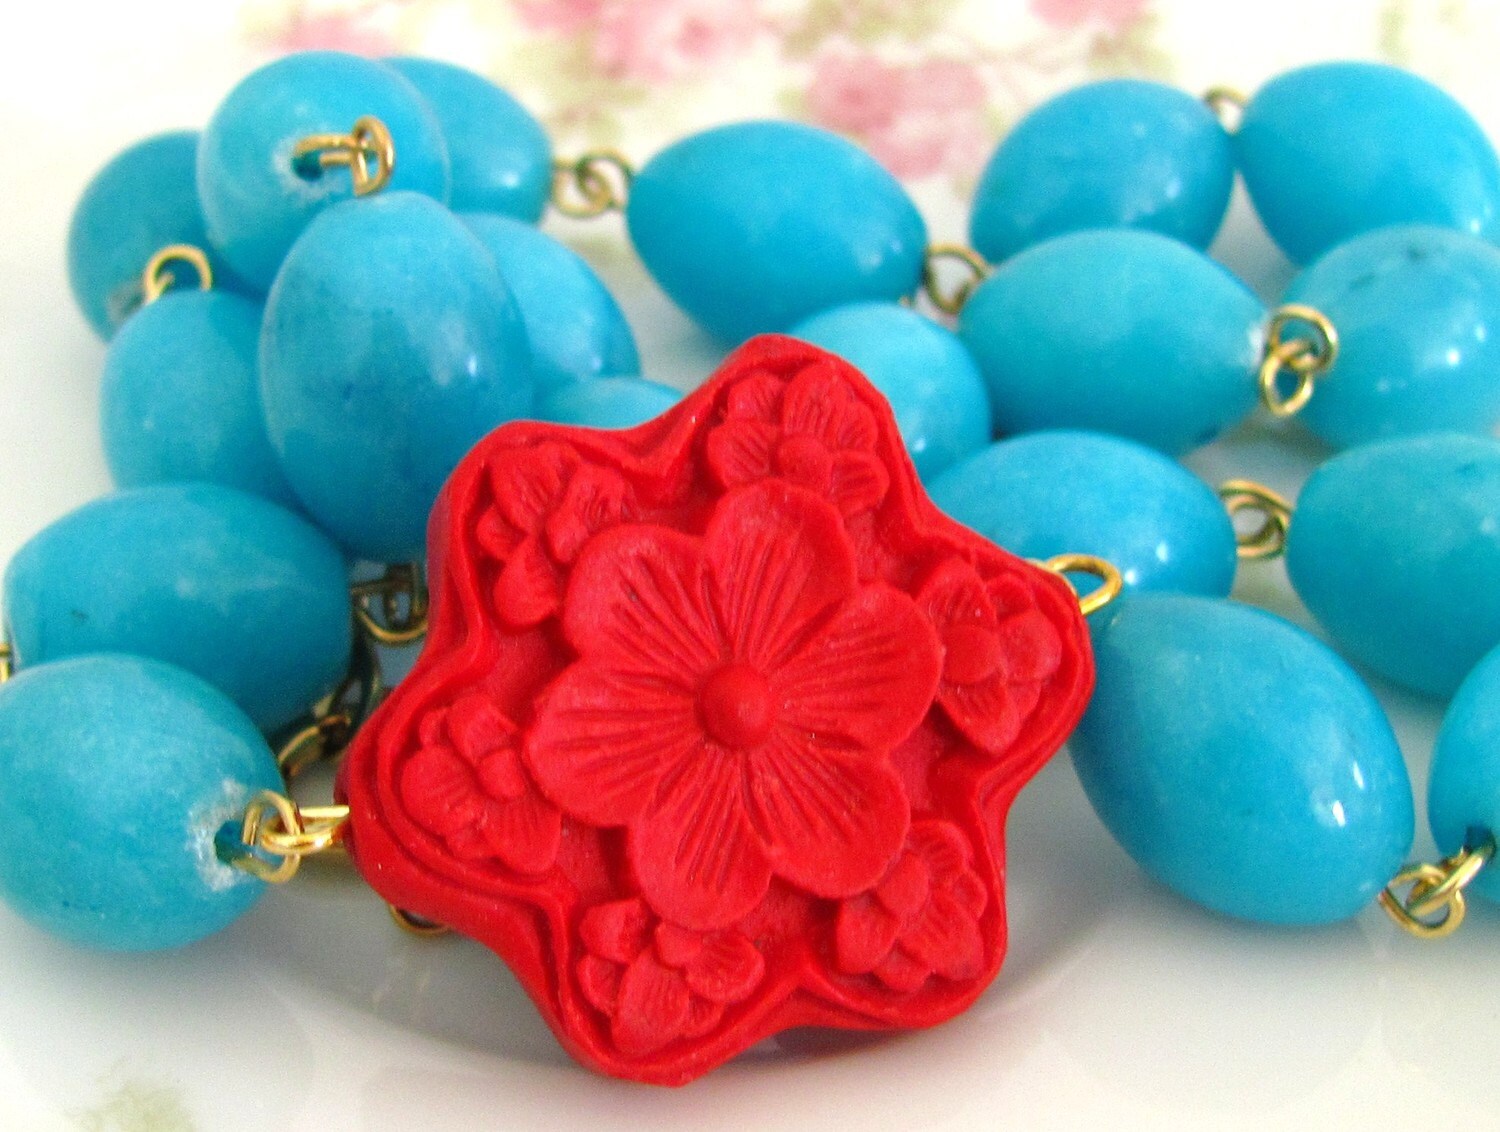
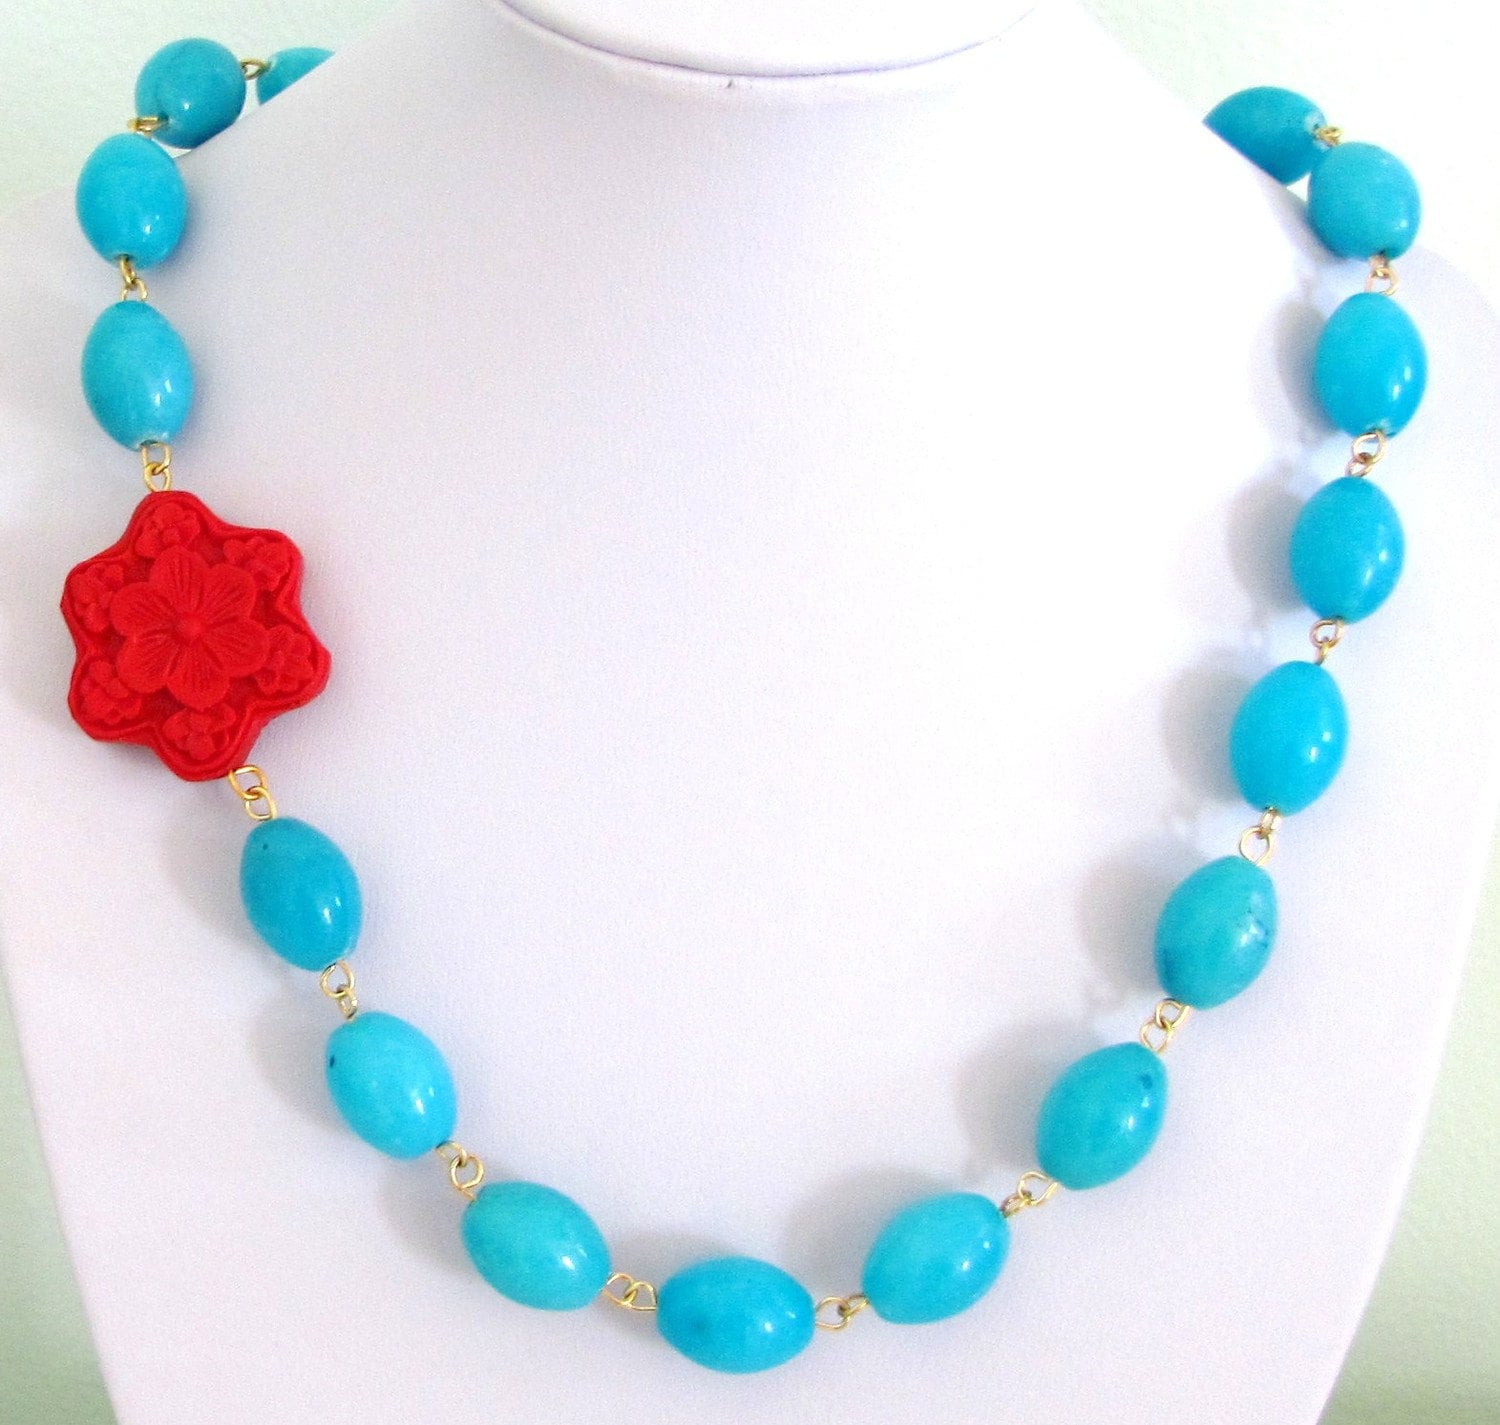
I love the bright, bold colors of this one!
This necklace makes me long for the summertime, but I think it could be a nice pop of color in your winter wardrobe as well!
And the original inspiration:
I kept the aqua color on the walls in here very soft and soothing with the bright pops of red. This color is hard to photograph, and is much prettier in person, but you get the idea :)
What inspires you in your creative endeavors?
Wednesday, January 12, 2011
Now That's The Life
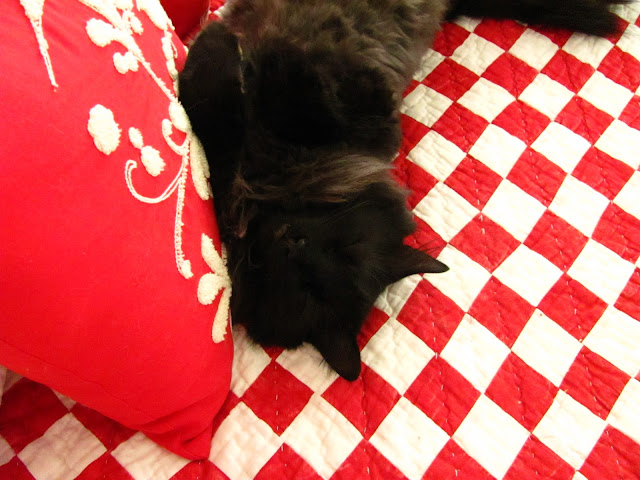
The life of a cat....or should I say, the life of my cats! This is pretty typical. I'm not usually suprised when I walk into a bedroom and find the two of them doing this....
Meet Harley(orange) and Salem(black). The world's laziest cats! Harley looks a little like he's glaring at me for waking him!
Don't you wish you could spend the day like this??
Meet Harley(orange) and Salem(black). The world's laziest cats! Harley looks a little like he's glaring at me for waking him!
Don't you wish you could spend the day like this??
Tuesday, January 11, 2011
Wallpaper Backsplash d.i.y. part 1
Let me give you a little background on our house. We bought it about 2 1/2 years ago, just before we got married. We have continued to make changes/upgrades to it since we have been here. Now the house is not that old; it was built in 1998, but it was so "cookie cutter". We wanted the charm of an old house, without having to worry about the real stuff like plumbing, electrical, etc. so we decided with our skills, we could give it a little charm of it's own!
Starting with the kitchen we painted the boring oak cabinetry a light, creamy white. We bought all new stainless appliances and installed wainscoting. Charm factor...starting to go up! Since then, I haven't done much else to it aside from the usual: paint, window treatments, wall art, accessories.
I have been wanting a backsplash for a while but couldn't quite figure out what exactly. Eventually we want to replace the not-so-charming countertop, so I didn't want to invest in a nice tile backsplash without having the funds for a countertop as well, and the idea of doing the wainscoting on the backsplash is just too much when it's on the lower half of the walls as well.
Enter: Ikea! My friend Elizabeth took me to Ikea last month for the very first time(Yes, i know! Can't believe I have never made the trip before!). In one of their display kitchens there it was...my future backsplash!
So here goes, part 1 of our DIY wallpaper backsplash:
BEFORE
The walls are a creamy yellow. Can't remember the name of the paint off the top of my head.
Wallpaper from Lowe's. Self pasted so the only other supplies we needed were a sponge, an exacto knife, and a smoothing tool to get rid of the bubbles in the paper.
Now this might look a little weird, but we used sheets of legal paper to make a template. I ran the wallpaper horizontally, rather than vertically so I didn't have any seams. We simply taped them together and cut out around the outlets. I *highly* recommend doing this if you want to run your wallpaper horizontally, it saves a lot of headache! Once this step was done, we laid it out on top of the wallpaper and cut it out. Easy, right?
Last step was to wet the paper with a sponge, fold it into itself for 5 mins and hang! Smooth out any bubbles with the smoothing tool, and you have an easy, inexpensive backsplash!
I plan on painting this tomorrow since it is a paintable wallpaper. I'm going to paint it the same color as the wall was originally because I wanted it to be a subtle backsplash since I already have a lot going on in there. Will try to take better pictures of the entire kitchen also!
Total cost of this project $30!!
SO affordable! Even better, we had a couple of gift cards from Christmas, so nothing beats FREE!
Monday, January 10, 2011
Guest Bedroom
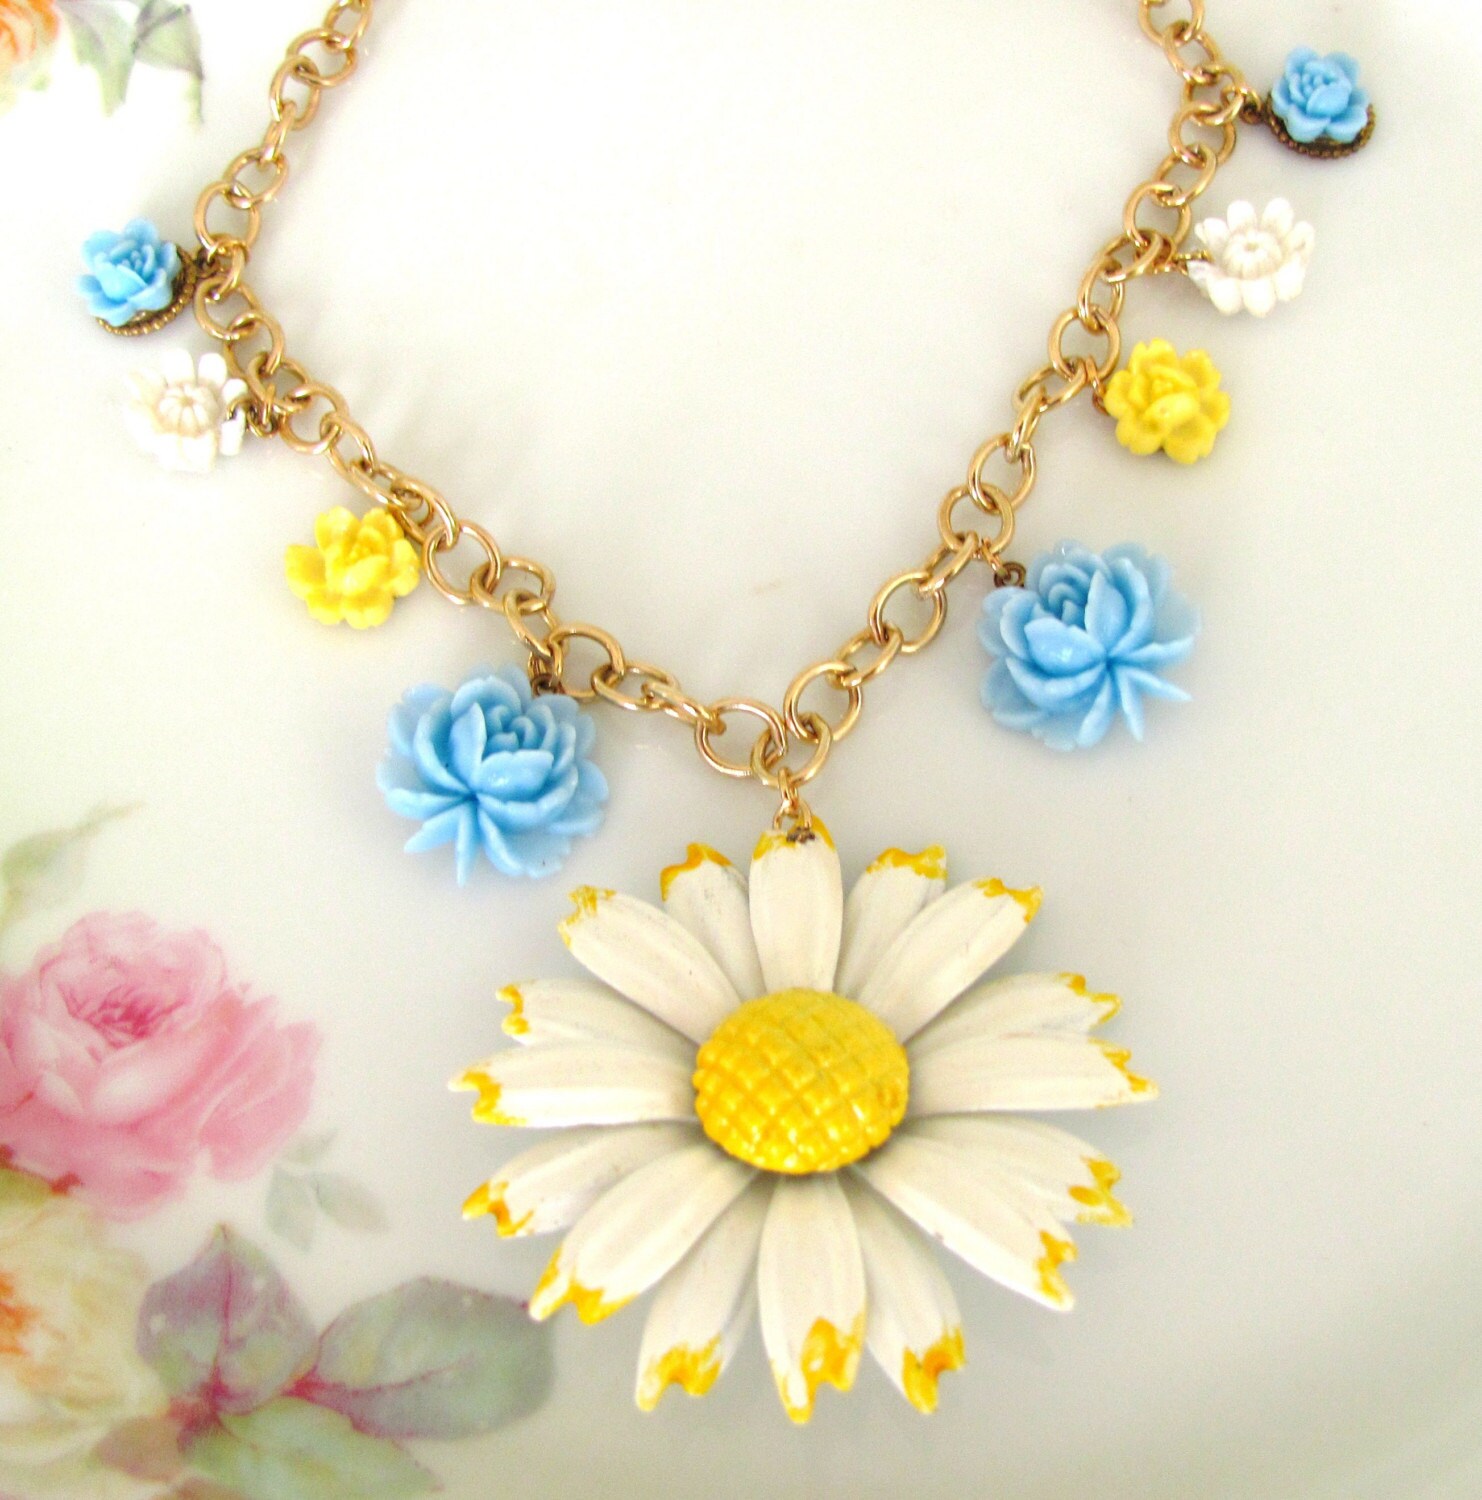
I have slowly been working on one of my guest bedrooms. I was inspired by this crisp, clean yellow, blue and white of a necklace I made!
Which then led me to finding this amazing lattice print fabric:
So fresh and clean, right?! I decided to go with blue on the walls, but not your typical pale blue and yellow combo. I wanted something with a little more of a periwinkle tone to it.
It's not the world's largest room, so I wanted to keep it light and airy. With a twin bed pushed up against one wall to maximize space, finding art for a huge blank wall can be a little tricky. I have decided to go with a collage look using a mix of vintage finds along with unique artwork. I have collected small crocheted doilies, ornate old frames, decorative plates, and a few other odds and ends.
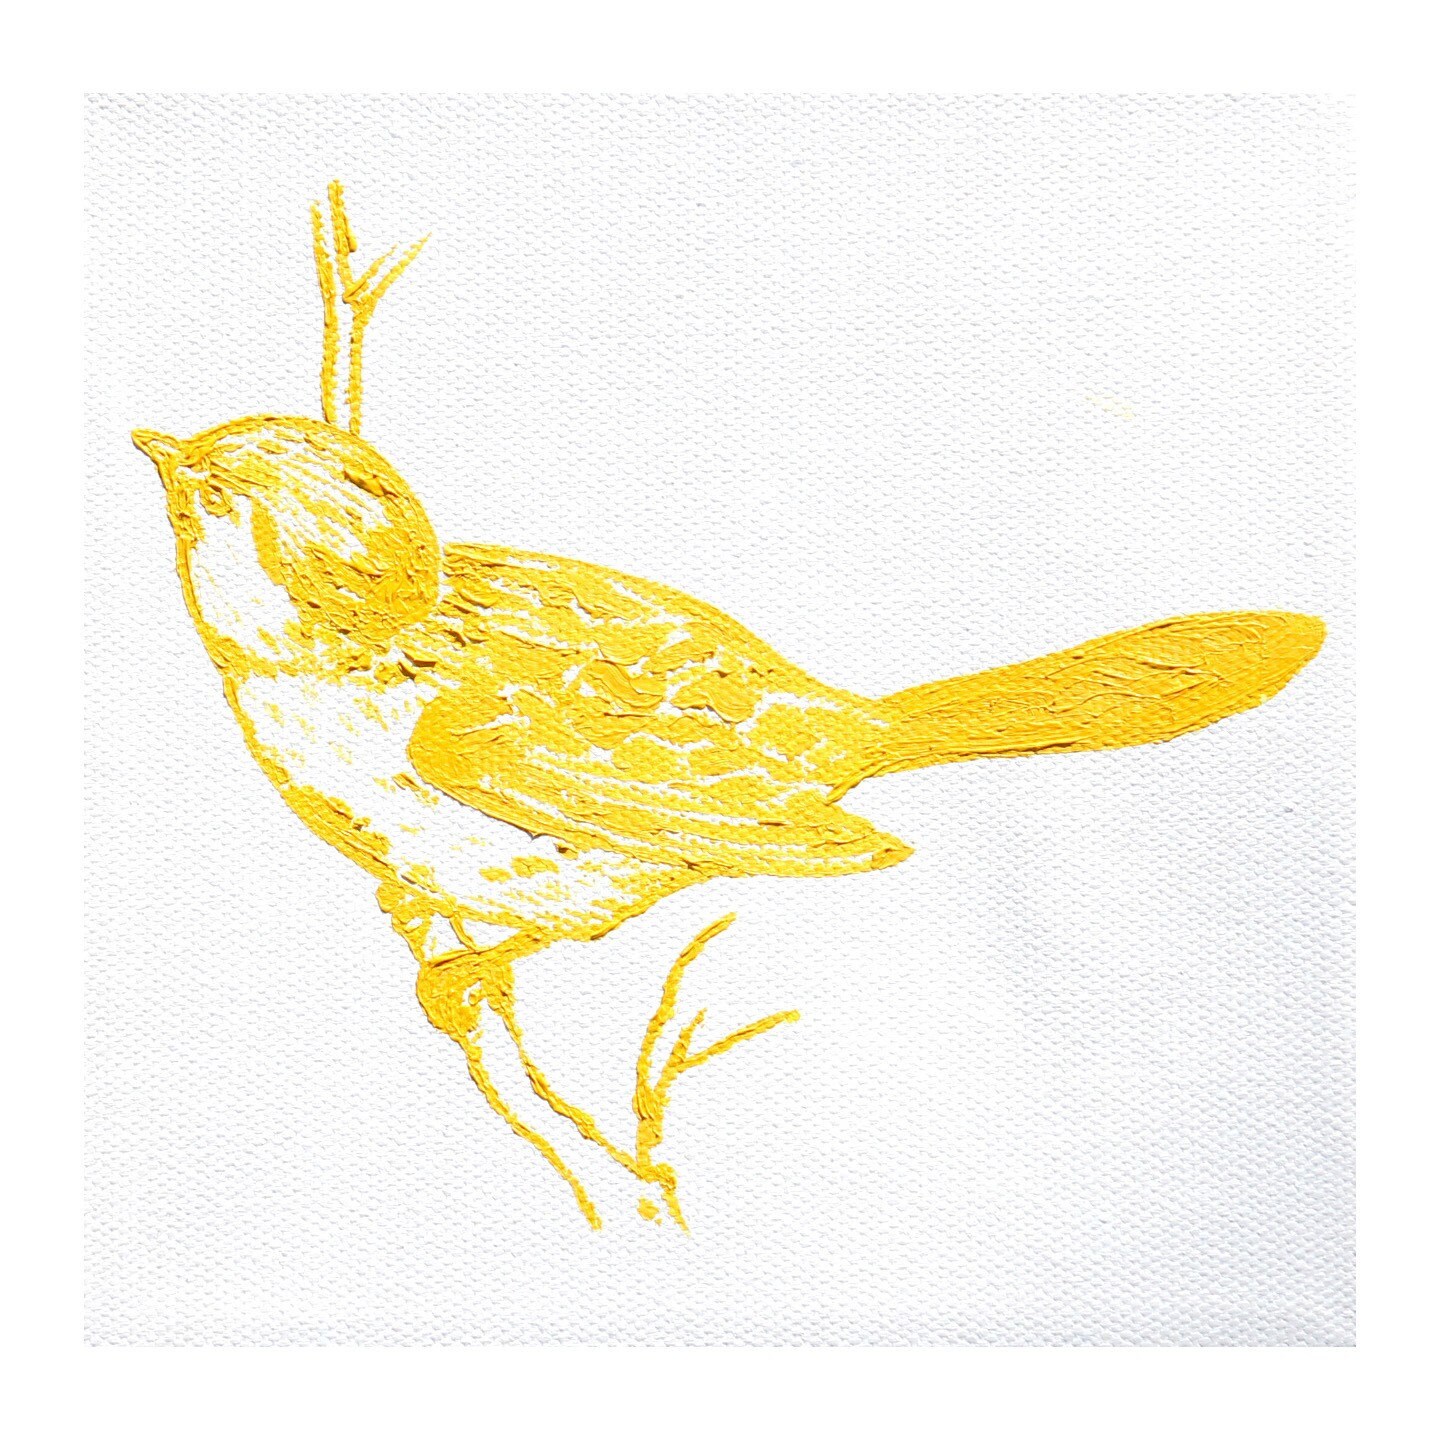
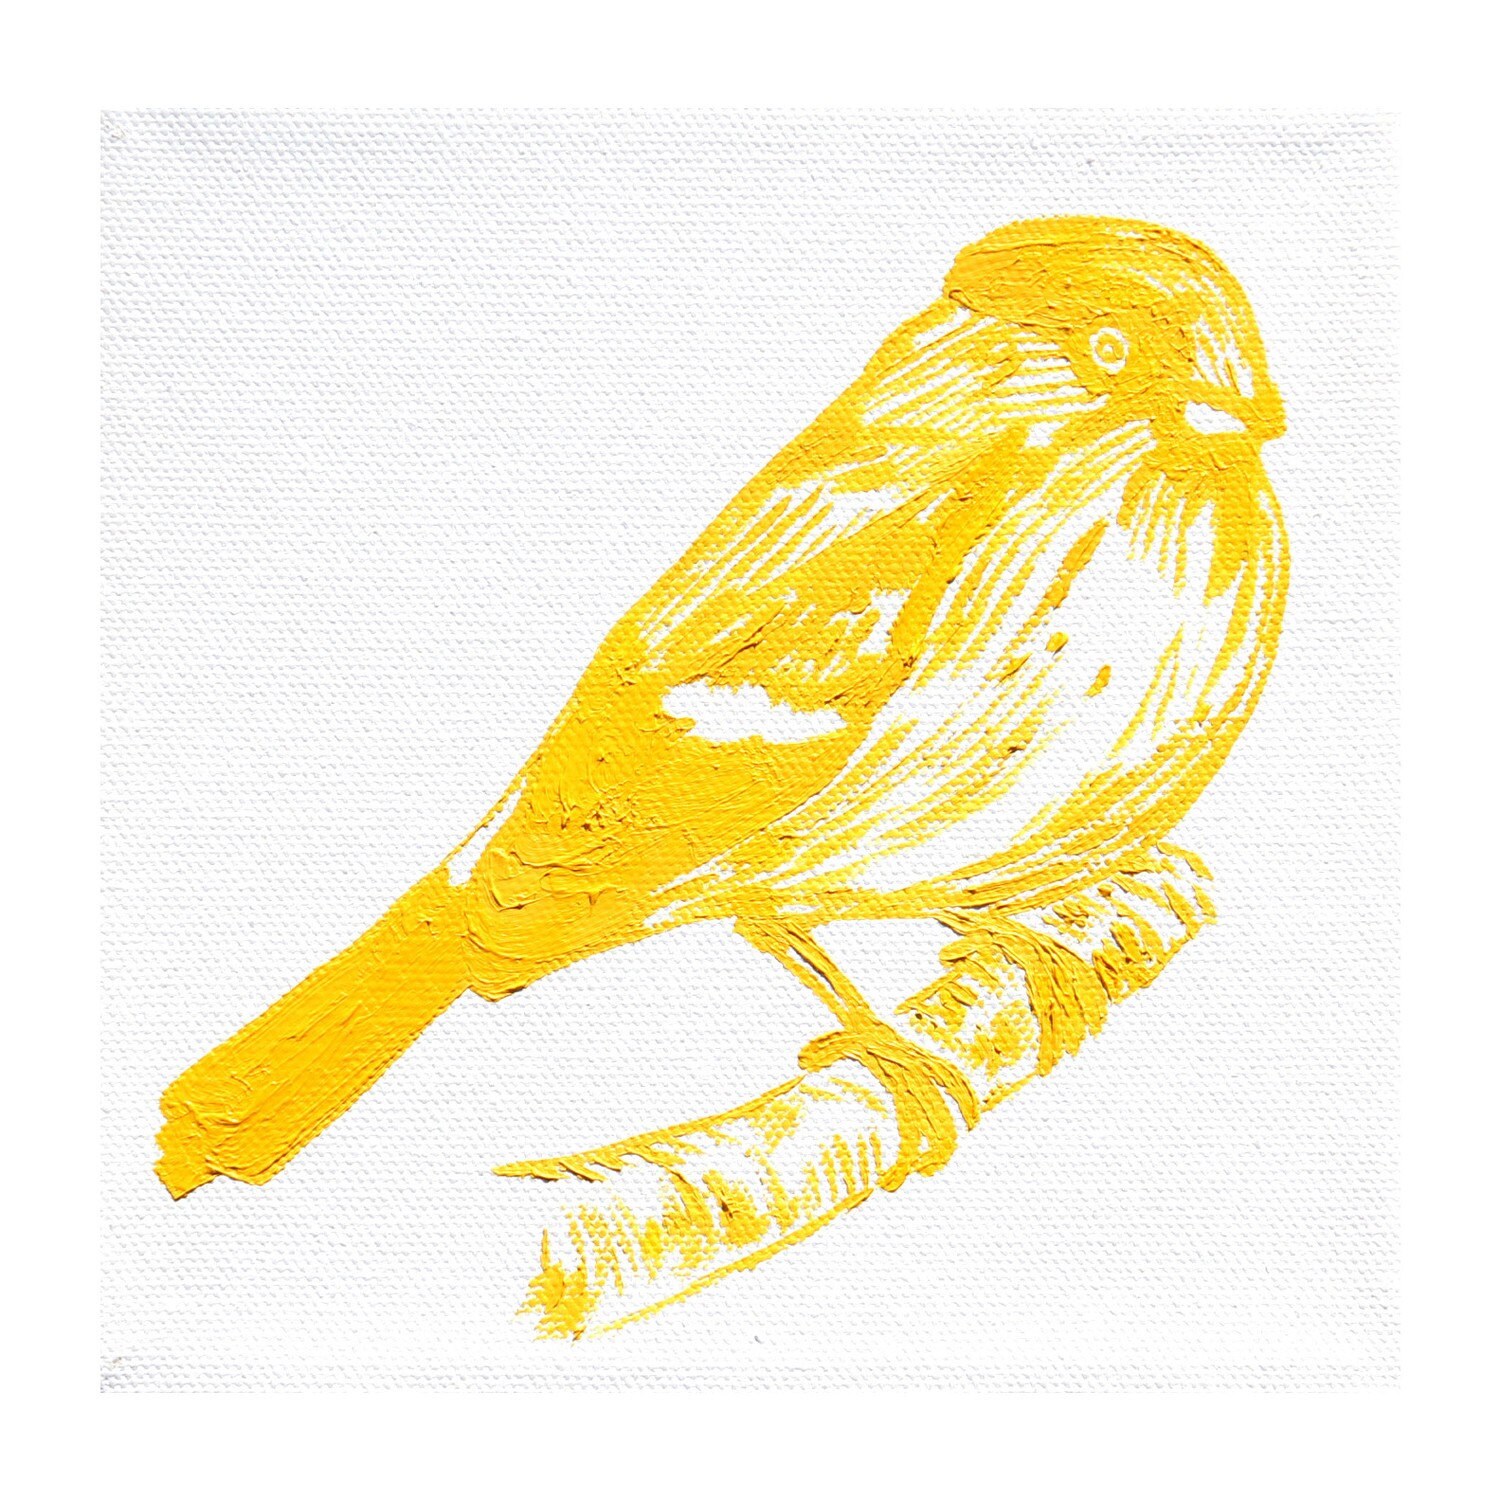
Most recently, I ordered these 2 paintings from an amazingly talented artist on etsy.
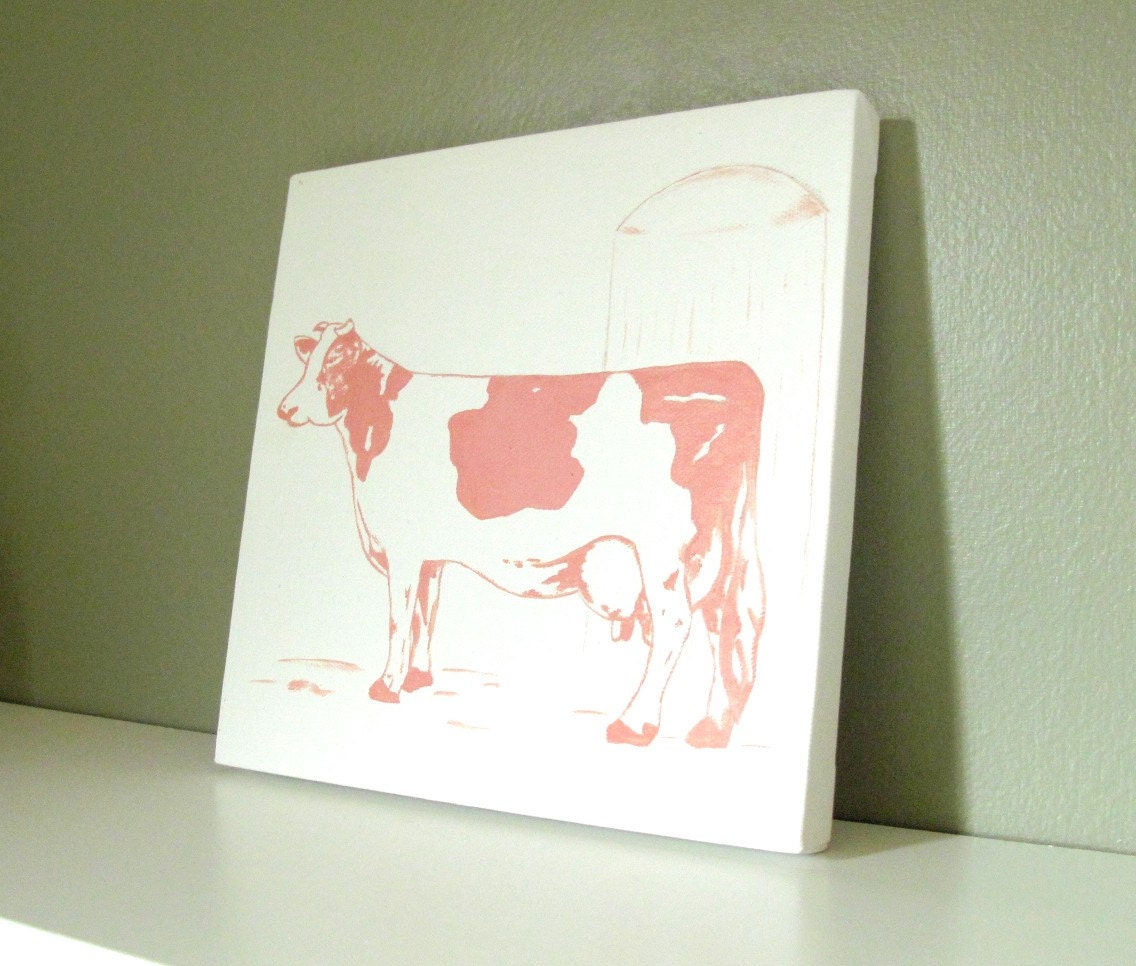
Aren't they cute?! This artist also has a pink cow. Yes, I said PINK! I think she will fit nicely in my house too ;)
The wall is still a work in progress! I want to make sure I have enough goodies before I start knocking a ton of holes in my wall! But I will be sure to post the room once it's done!
Subscribe to:
Comments (Atom)














.png)


